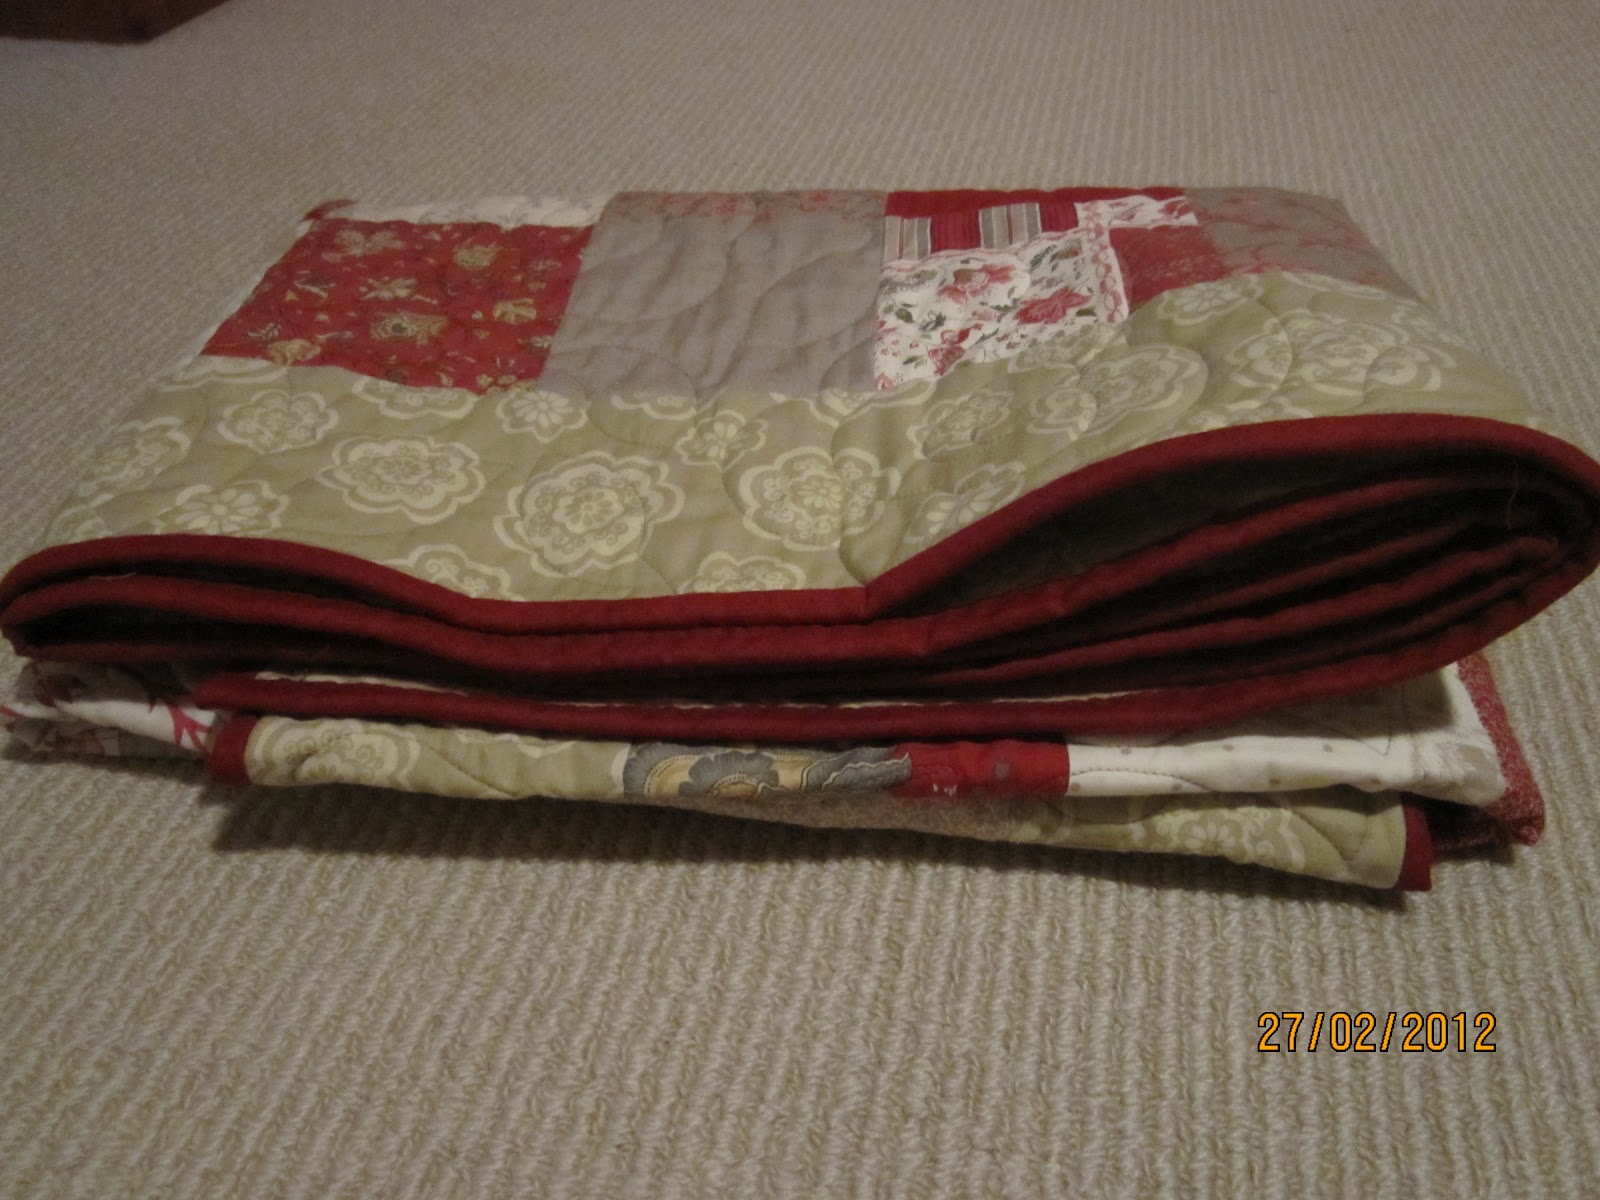
The French General quilt came back from Elaine Kennedy my friend and long-arm quilter. Then I had to buy a special shade of red for the binding...then I had to find the time to stitch it, then ... the battery in the camera was dead! It is now all finished and safely winging its way to its new home in Sydney.
Unfortunately it was evening when I took these photos, so the colour is a bit off, but not as bad as it looked through the view finder at the time. DH was putting kids to bed, so I didn't dare interrupt to ask for him to play quilt stand for me, so please excuse the clothes line!
I had a great day Saturday stitching with the After Dark Quilters, despite the heat - I think it made 39C. We have been blessed this summer as there have been fewer then usual days of scorching heat. Having said that, the heat finished off five of my plants that were on their last legs. I planted them in the new back garden last autumn, and they were carefully fertilized, mulched and on a watering system, so that is really disappointing.
I have had a few people ask me about the Hum bug bags, so I decided to do a quick tutorial. This is a picture of the bags I finished Sunday. We had a mini working bee on Saturday, but mostly we quilted the squares. I had lots of help, Heather had cut out heaps of fabric and wadding, Kylie donated more, Julie and other members of our group helped with the quilting of the bags.
There are other tutorials available on the web but this is the method that I use, there are variations...and its not my original idea. There is also a pattern you can buy if you care to Google Hum Bug bags.
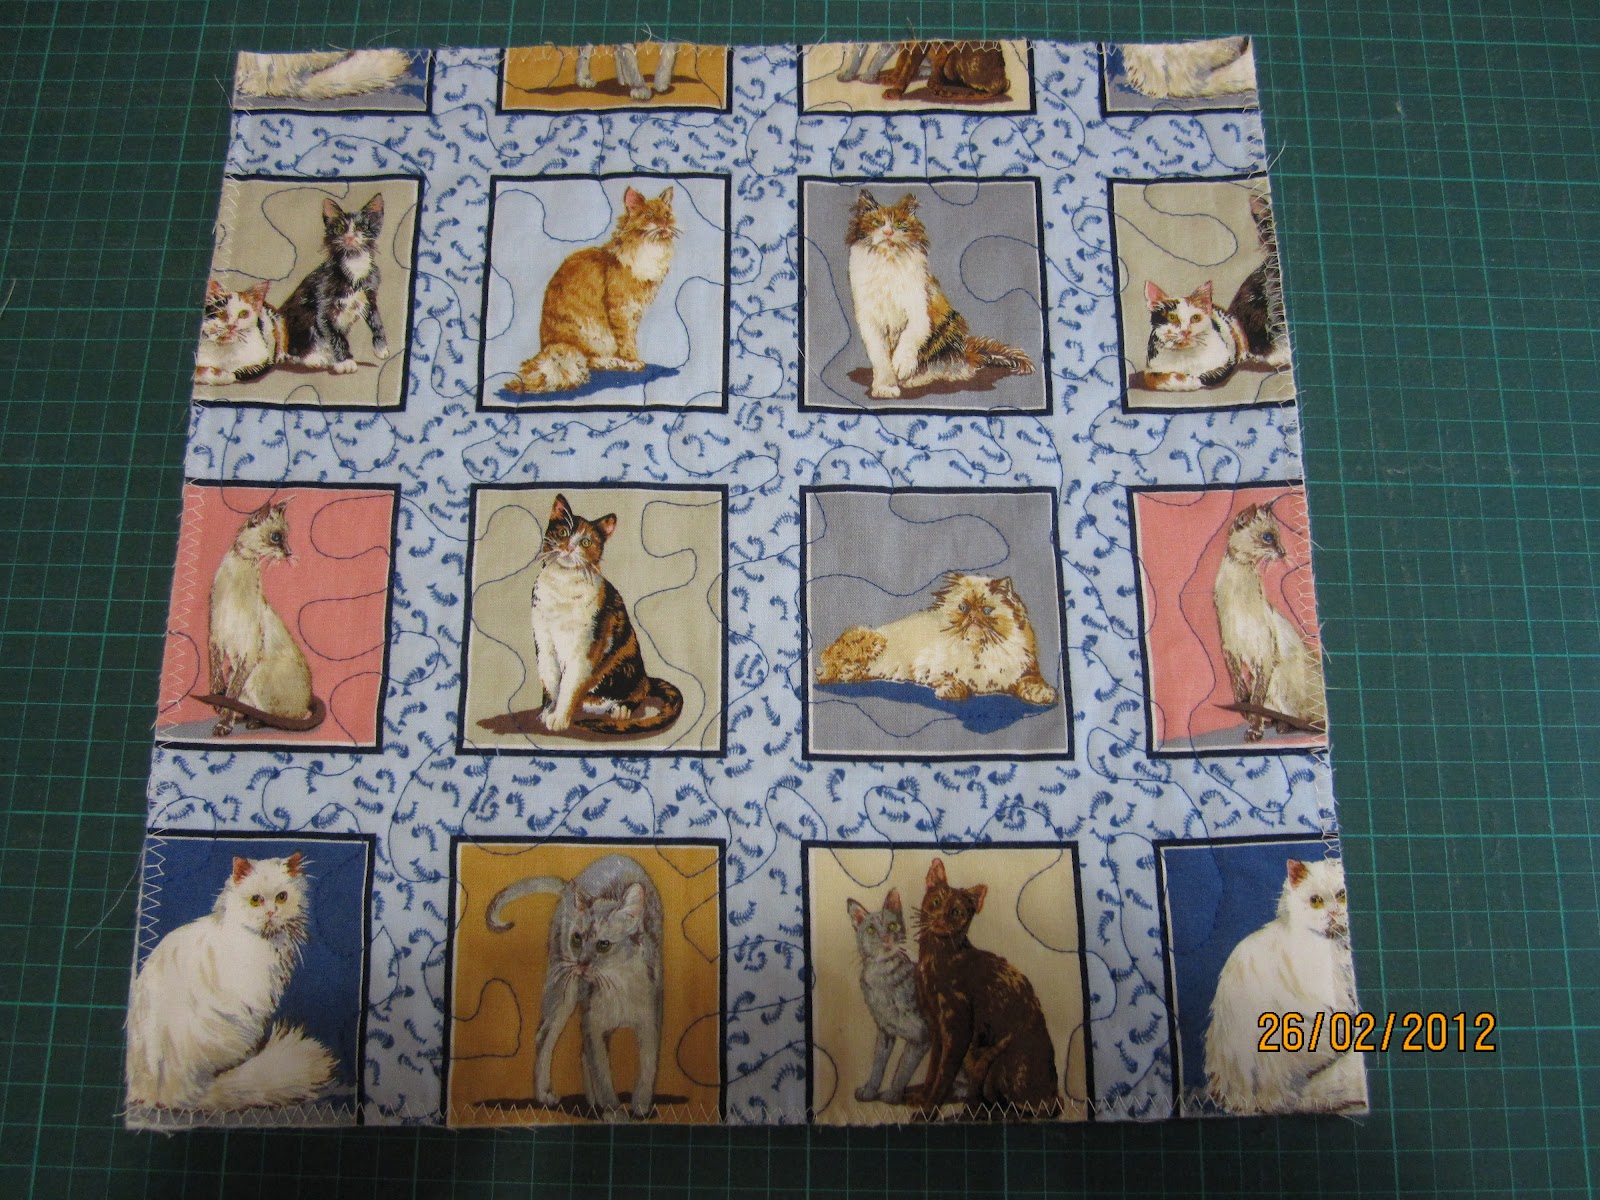
Cut out a square of backing fabric, wadding and top fabric, all the same size. I cut mine at 13' square, but next time I am going to make them 15". Pin (normal pins rather then safety) and quilt as desired....perfect for practising free motion quilting, as you can see from my example. Trim back, to 12.5" (only because that's the size of the square I have) and zig zag around all four edges to stabilise.
Add a zip down one side of the square. The zip needs to be longer then the square. Take your time, you are sewing through MORE layers then you would normally when inserting a zip. I like to top stitch the zip as well.
Dont trim the zip yet! Now's the time to discover that you should have lined up the pattern more carefully!
Check out the different coloured zips that look equally good as contrasts...some of these zips were donated by Caroline from Goolwa, thank you on behalf of Peggy and Girl Guides South Australia.
TURN THE BAG INSIDE OUT. Undo the zip half way, then stitch down the side seam at the TOP of the bag eg. Where the zip would sit when it is CLOSED. I like to do a straight stitch (back stitch at start and end) and follow up with a zig zag on the edge. Drive carefully over the zip, nice and steady, no need to rush!
NOW you can cut the end of the zip off...just the one end though!
Then flatten out the other end of the bag (zip should still be half open) so the zip sits in the middle and sew that seam, again stitch carefully over the zip - otherwise you will break your needle! Trim off the zip end.
Congratulations, one hum bug bag completed! These bags are being donated to the "Girls on Track" program run by Girl Guides South Australia and Smith Family. Each program has 15 girls attend and their ages vary between 7 - 11. Several programs are run each term, so that's a LOT of hum bug bags required! Lots of ladies quilted squares on Saturday and that enabled me to put zips in and finish off 15 Sunday, ready to pass on to to Girl Guides.
I would like to post some pictures of what some of the After Dark girls got up to Saturday, but the photos are on my phone...and I havent read the book yet to find out how to get them onto the computer!
Happy quilting, Sue.


lovely quilt.... safe travels... thanks for the tutorial for the cute bags... so far Ihaven't been brave enough to add zips in bags...
ReplyDeleteHugz
Excellent tutorial! Great team work getting the bags made. They sure do make fantastic gifts. And what a great way to use up batting scraps! Your French General quilt looks wonderful. I love the quilting design. Its looks perfect.
ReplyDeleterather than going out and getting supplies. It may not be their job to make sure supplies and food are stocked, but they did not seem bothered by it in the least.fence contractors bundaberg
ReplyDelete